반응형
package.json
- jest : 자바스크립트를 쉽게 테스팅하는 npm 패키지
- test:cov : 코드가 얼마나 테스팅됐는지 알려줍니다.
{
	"test": "jest",
    "test:watch": "jest --watch",
    "test:cov": "jest --coverage",
    "test:debug": "node --inspect-brk -r tsconfig-paths/register -r ts-node/register node_modules/.bin/jest --runInBand",
    "test:e2e": "jest --config ./test/jest-e2e.json"
}
💡 새로 파일들을 생성하면 파일명 뒤에 .spec.ts 라고 붙은 파일들이 같이 생성되는데 그 파일들이 테스트를 포함한 파일입니다.
Nestjs에서는 jest 가. spec.ts 파일들을 찾아볼 수 있도록 설정되어있습니다.
- npm run test:cov
- 모든 .spec.ts 파일을 찾아서 몇 줄이 테스팅됐는지 알려줍니다.
- npm run test:watch
- 모든 테스트 파일들을 찾아서 거기서 무슨 일이 일어나는지 관찰합니다.
Unit Testing
- 서비스에서 분리된 유닛을 테스트한다.
- 모든 function 을 따로 테스트
ex) movie.service.ts > getAll() 함수 하나만 테스트하고 싶을 때 사용
e2e Testing (end-to-end)
- 모든 시스템을 테스팅한다.
ex) 이 페이지로 가면 특정 페이지가 나와야 하는 경우 사용
Jest
- 자바스크립트 테스팅 프레임워크
Unit Test
💡 afterAll() 안에는 데이터베이스를 모두 지우는 function을 넣을 수 있음 beforeEach, afterEach, beforeAll, afterAll 등 많은 훅이 있습니다.
간단한 프로젝트를 통해 unit test를 진행해보도록 하겠습니다.
movies.service.spec.ts
import { Test, TestingModule } from '@nestjs/testing';
import { MoviesService } from './movies.service';

describe('MoviesService', () => { // 테스트를 묘사..?
  let service: MoviesService;

  beforeEach(async () => { // 테스트하기전에 실행
    const module: TestingModule = await Test.createTestingModule({
      providers: [MoviesService],
    }).compile();

    service = module.get<MoviesService>(MoviesService);
  });

  it('should be defined', () => {
    expect(service).toBeDefined();
  });
});
맨 하단에 이런 함수를 넣어서 실행해봅니다.
...
it('should be 4', () => {
    expect(2+2).toEqual(4);
  })
...
npm run test:watch


Unit Testing
getAll()
- getAll() 메소드를 호출한 후 result 인스턴스가 배열인지 테스트
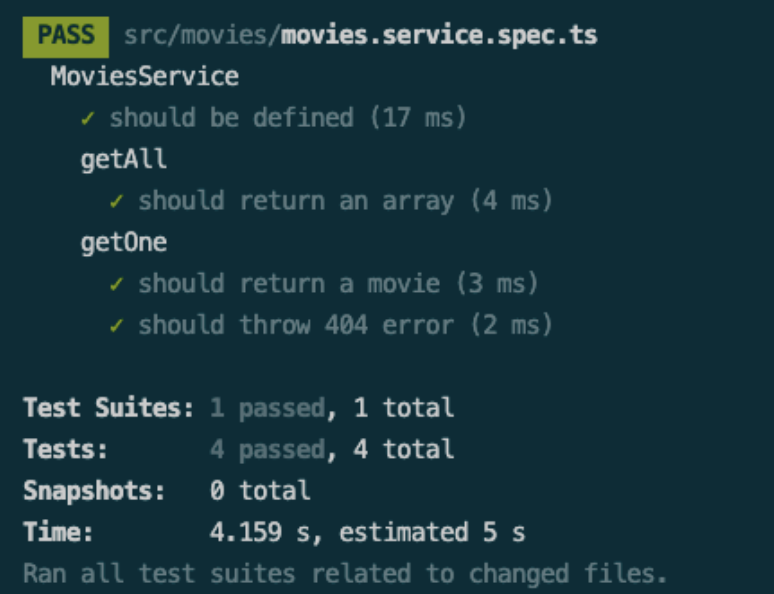
describe('getAll', () => {
    it('should return an array', () => {
      const result = service.getAll();
      expect(result).toBeInstanceOf(Array);
    });
  });
npm run test:watch

→ getAll : shold return an array
getOne()
- getOne() 메소드가 잘 호출되는지 테스트
- 999 id 값을 가진 movie 가 없을 때 에러 메시지를 던지는지 확인
describe('getOne', () => {
    // getOne() 을 테스트 할 때 Movie 가 create 되어 있지 않다면 문제가 생길 수 있음
    it('should return a movie', () => {
      service.create({
        title: 'Test',
        genres: ['test'],
        year: 2020,
      });

      const movie = service.getOne(1);
      expect(movie).toBeDefined();
      expect(movie.id).toEqual(1); // movie id 값이 1이 맞는지 확인
    });

    it('should throw 404 error', () => {
      try{
        service.getOne(999);
      }catch(e){
        expect(e).toBeInstanceOf(NotFoundException);
        expect(e.message).toEqual('Movie with ID 999 not found.');
      }
    })
  });
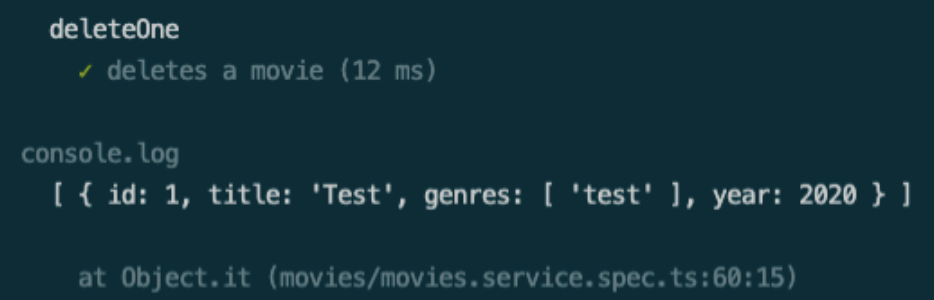
deleteOne()
- 먼저 movie 를 생성한다.
describe('deleteOne', () => {
    it('deletes a movie', () => {
      service.create({
        title: 'Test',
        genres: ['test'],
        year: 2020,
      });

      console.log(service.getAll());
    });
  });
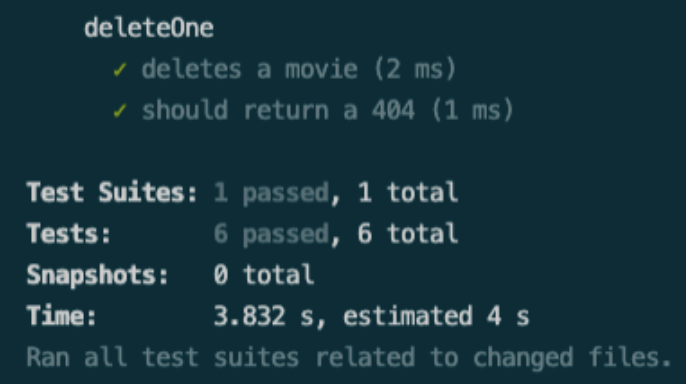
- movie 생성 후 전체 movie의 length와 하나의 movie를 delete 한 후의 movie length를 비교한다.
- afterDelete 가 beforeDelete 보다 작을 것이라고 예상
describe('deleteOne', () => {
    it('deletes a movie', () => {
      service.create({
        title: 'Test',
        genres: ['test'],
        year: 2020,
      });

      const beforeDelete = service.getAll().length;
      service.deleteOne(1);
      const afterDelete = service.getAll().length;
      expect(afterDelete).toBeLessThan(beforeDelete); // afterDelete < beforeDelete
    });
    it('should return a 404', () => {
      try{
        service.deleteOne(999);
      }catch(e){
        expect(e).toBeInstanceOf(NotFoundException);
      }
    })
  });
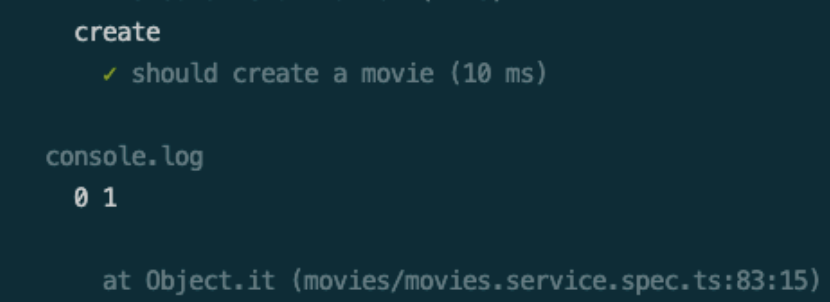
create()
describe('create', () => {
    it('should create a movie', () => {
      const beforeCreate = service.getAll().length
      service.create({
        title: 'Test',
        genres: ['test'],
        year: 2020,
      });
      const afterCreate = service.getAll().length
      console.log(beforeCreate, afterCreate);
      expect(afterCreate).toBeGreaterThan(beforeCreate);
    });
  });
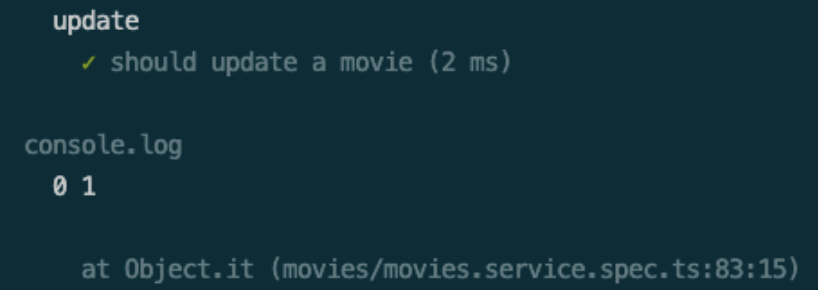
update()
describe('update', () => {
    it('should update a movie', () => {
      //const beforeUpdate = service.getAll()
      service.create({
        title: 'Test',
        genres: ['test'],
        year: 2020,
      });

      service.update(1, {
        year: 2025
      });

      //const afterUpdate = service.getAll()
      //console.log(beforeUpdate, afterUpdate)
      const movie = service.getOne(1)
      expect(movie.year).toEqual(2025);
    })
  })
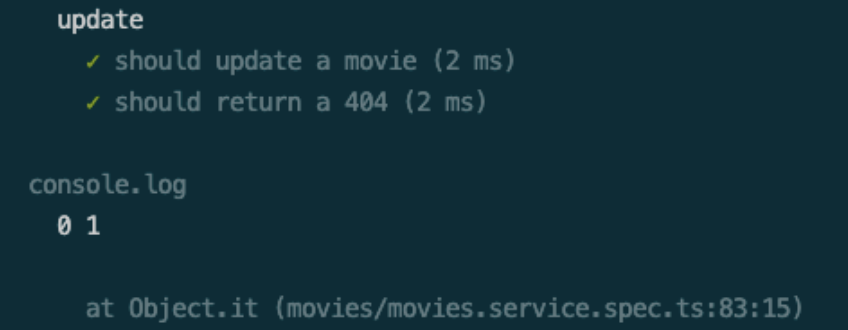
describe('update', () => {
    it('should update a movie', () => {
      //const beforeUpdate = service.getAll()
      service.create({
        title: 'Test',
        genres: ['test'],
        year: 2020,
      });

      service.update(1, {
        year: 2025
      });

      //const afterUpdate = service.getAll()
      //console.log(beforeUpdate, afterUpdate)
      const movie = service.getOne(1)
      expect(movie.year).toEqual(2025);
    })

    it('should throw a NotFoundException', () => {
      try{
        service.deleteOne(999);
      }catch(e){
        expect(e).toBeInstanceOf(NotFoundException);
      }
    })
  })
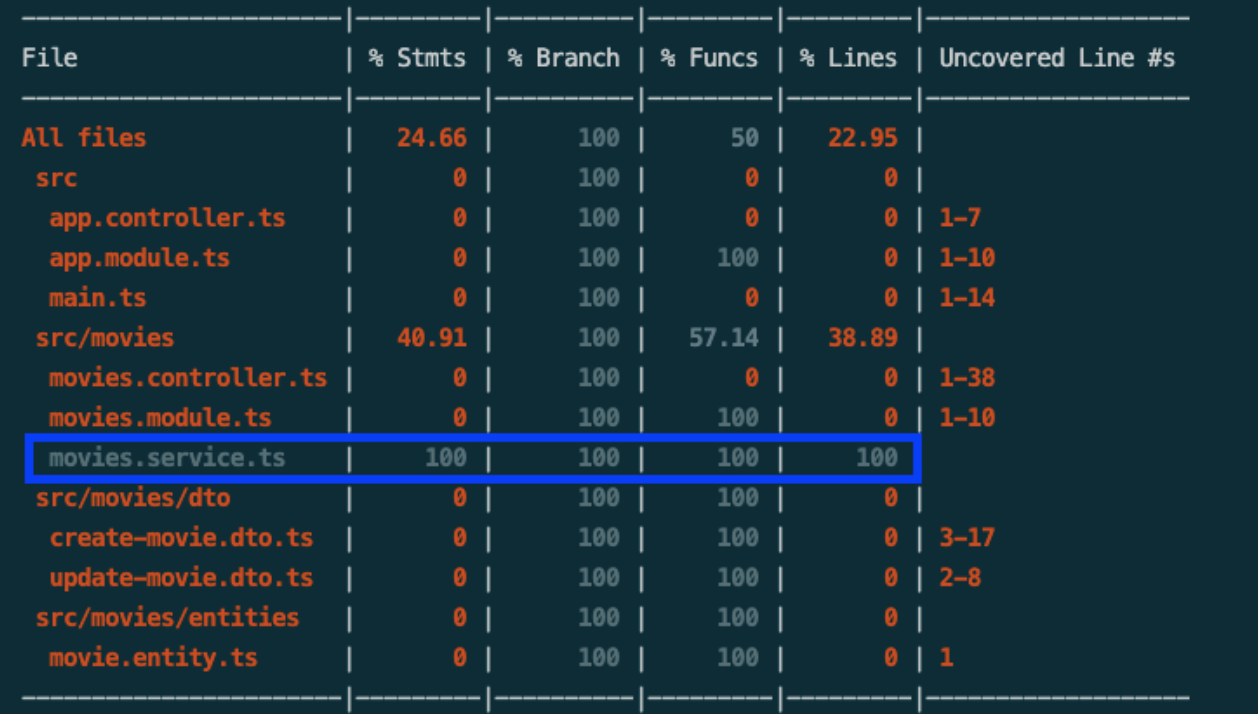
npm run test:cov
→ movies.service.ts 파일이 100%로 바뀌면 unit test 성공입니다!
반응형
'Backend > Nestjs' 카테고리의 다른 글
| [NestJS] JWT AuthGuard/Strategy (0) | 2024.01.04 |
|---|---|
| [NestJS] NestJS 란? (0) | 2022.06.10 |
| [NestJS] E2E Testing (0) | 2022.02.27 |
| [NestJS] Swagger 생성하기 (0) | 2022.02.21 |
| [NestJS] Docker 304 undefined 에러 (0) | 2022.02.14 |